By: Ilaf
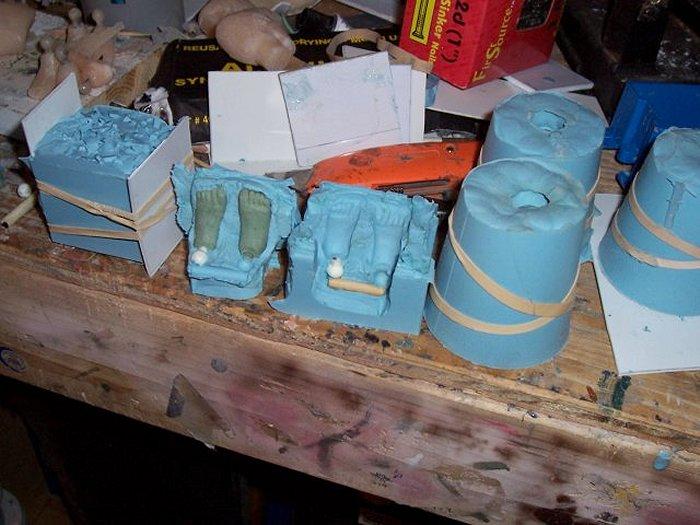
| Here we have cracked open the second foot mold... again this look really good. |
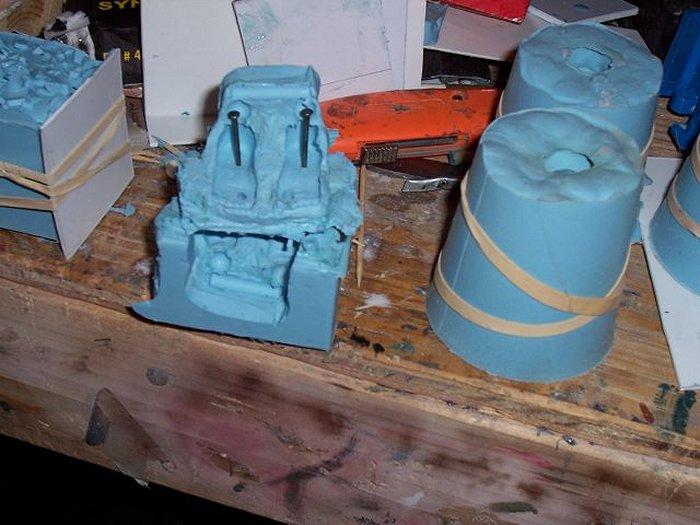
| Here I have again removed the wooden dowel and punched two nails in the silicon... Just so you know, on this mold the nail went through the mold... That is not a problem since we are pouring on that side... no material will flow out those holes while the nails are in there... and once the nails are removed you can not see the holes... over time there will be some marks in the silicon from the nails, but that is not a problem. The other mold is banded up with plastic and rubber bands... I will do the same here. |
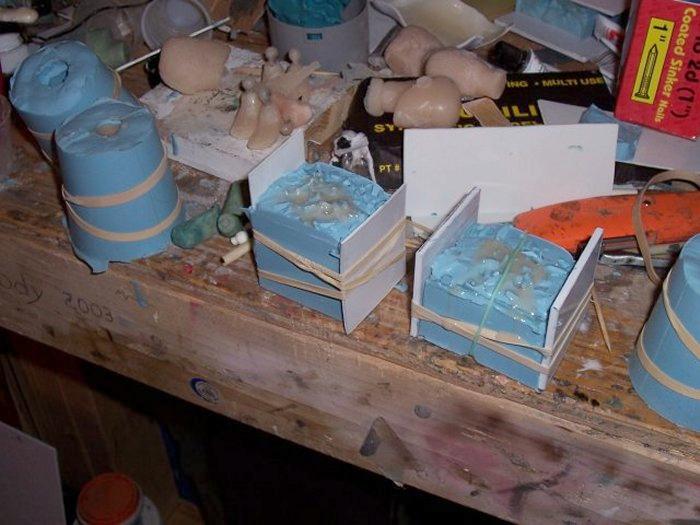
| OK.. here we go... I mixed 1/2 ounce of B and A resin. Notice the head mold sitting over there.. well like I said before, have something ready to take the overflow, in case you mix too much. Resin will stick to itself also... so you could pour a multi-colored head if you wanted. Not sure why you would want to....Ok, I just thought of a good reason... HECTOR CON CARNIGE (the brain ontop of the bear, its a cartoon)... you could suspend a little brain in the head mold, pour the resin with no color for half the mold and then fill the rest with a flesh color. When you pull the head out, you would see the brain inside the head... I might try this.... |
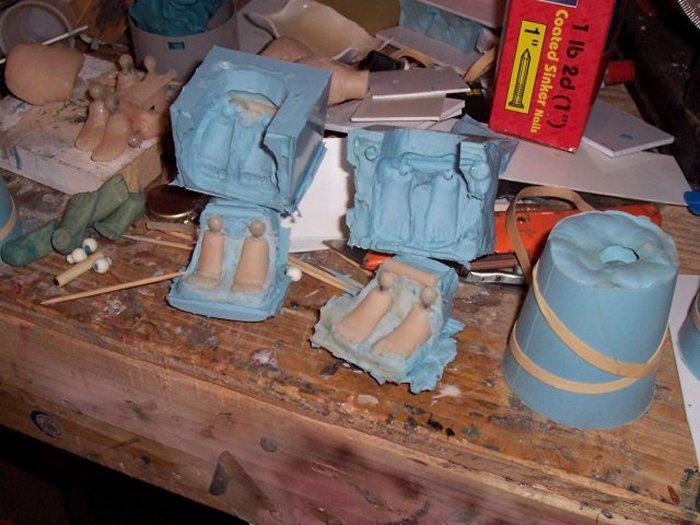
| First the feet on the right, look very good! A success! Now lets view the feet on the left... first look in the top portion of the mold... You can see where the dowel rod was... notice that piece is not completely filled with resin... That is A-OK, that is why we put it there, the ball connectors are completely filled. See where the toothpick is pointing to the toes on that one foot. There is a bad air bubble there. WHY? It could be caused by a few things. First is the pour vent did not let the air out, second it could be the resin was starting to thicken when I poured these feet... Since I was pouring a combined 1 ounce of material, I might have taken too much time... so next time, I will adjust the mixture to pour one set of feet at a time. You can not see this, but the resin is very soft... it is because I added too much color.. it did not bleed out, but it will take a few days for this stuff to harden correctly. |
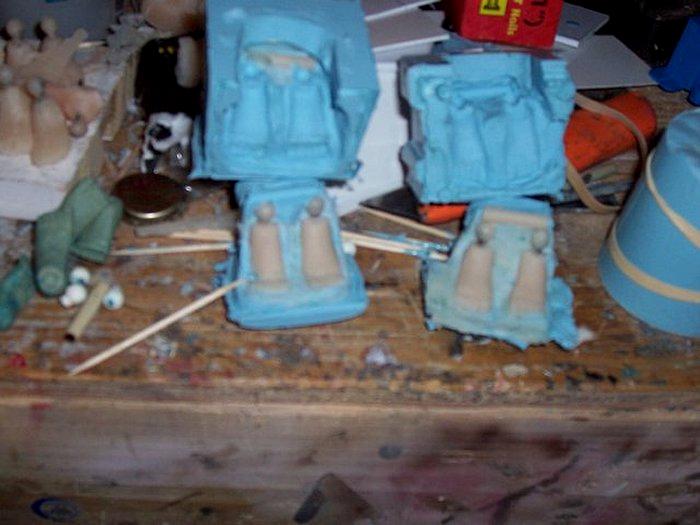
| Eventhough this is a blurry picture, it actually helps to show that air bubble on the foot. |
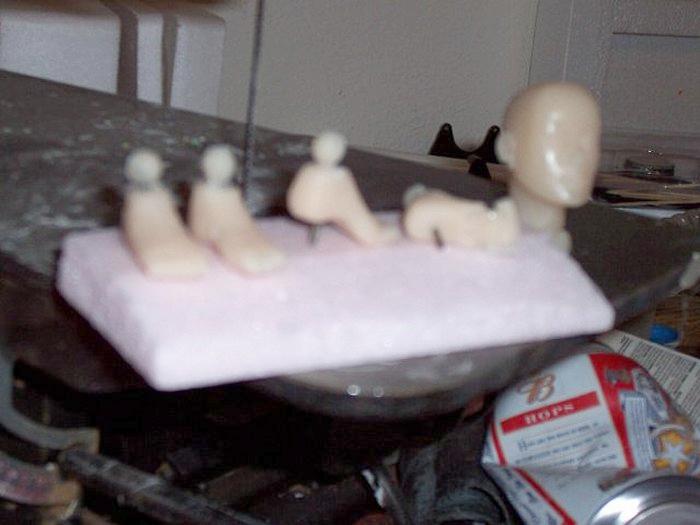
| Of course this is the worst picture of all, but all I was meaning to show was all the parts that were made. The nails can be cut off with a dremel or on a sander. Just do not let them get real hot, or the resin will melt. |
|
Ok, this sure was not the polished casting lessons that you normally find. Very few show that things go wrong... Sure I am not too keen on showing the mistakes I make, but it is life and hopefully you can see that a lot of the mistakes can be corrected and no one will ever know you made a mistake at all. That is called "COVER UP", very useful in the work place!!!! LOL!!! Nah, it is best to own up to the mistakes, otherwise all tutorials would be perfect, and no one would get to learn from your mistakes.
Once the feet harden and I can get some paint on the head, I will show off these results on a figure. Even the foot with the bad air bubble can be saved with some JB Weld or 2 part epoxy putty. |

Back to the Tips