By: Ilaf
|
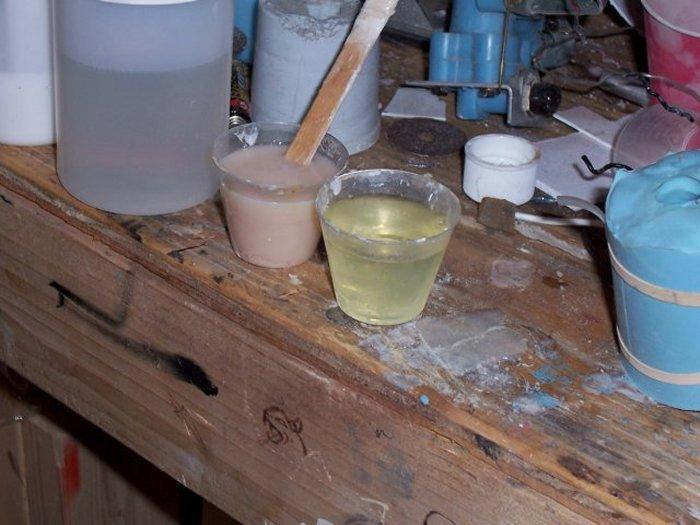
The FLESH color is mixed with the B side.. the yellow is the A side. Notice there is a full ounce of each... I am telling you right now, this is way too much for 1 head. So make sure you mix less or have a few molds that can use the resin. Those measuring cup can be bought at the drug store... It does not matter if it is ml or cc or tablespoon measurements... You just want some marks to pour equal amounts. You can mix very small amounts...
Now this is 3 minute resin... so there is no time to goof around once you mix these two together. I pour the B side into a cup and while stirring it, I add the A side. Mix well and pour in to the mold. |
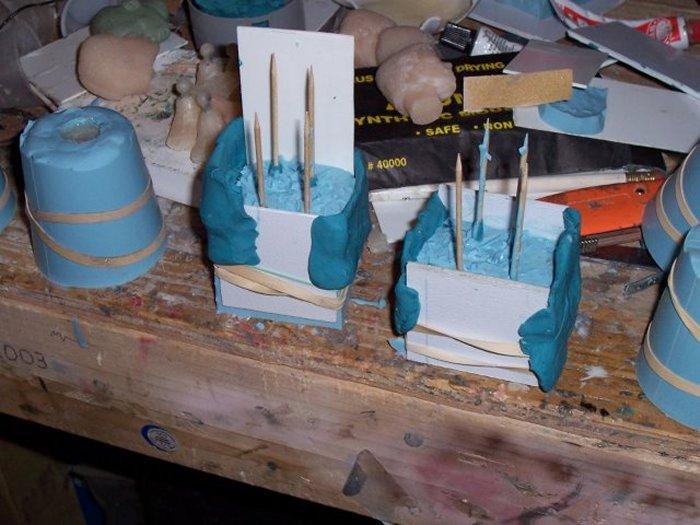
| Here is everything poured, the resin in the head mold and the silicon in the feet mold. To help pour the resin, I use a popsicle stick to pour the resin down. This will help control the flow into the pour holes... The head mold is not that big of a deal, since that is a big pour hole. |
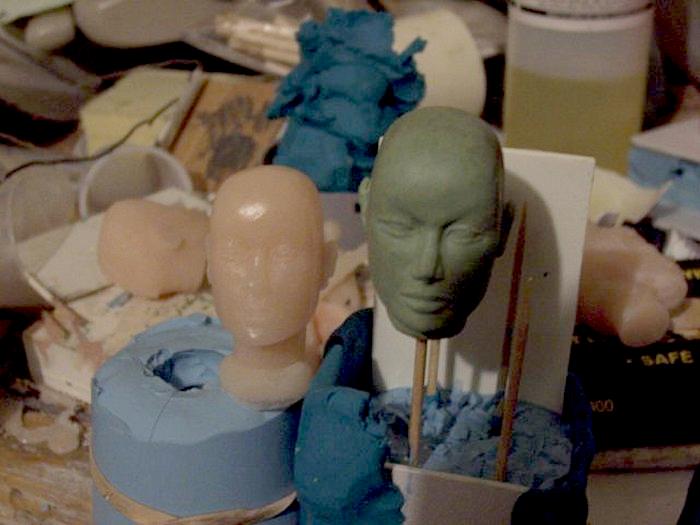
| I waited over night for the silicon to set up. The resin was ready way before then, but I left it in the mold... Here we can see the new head compared to the wax/clay one. There was a couple of air holes on the ears. I say this looks good, without fancy equipment you have to be happy with CLOSE... but since this is the first pour I now know the ears will cause problems and I will try some things to reduce the chance of air bubbles... One is to tilt the mold during the pour, second will be to pour a bit of resin and swirl it around in the mold and then pour the rest. |
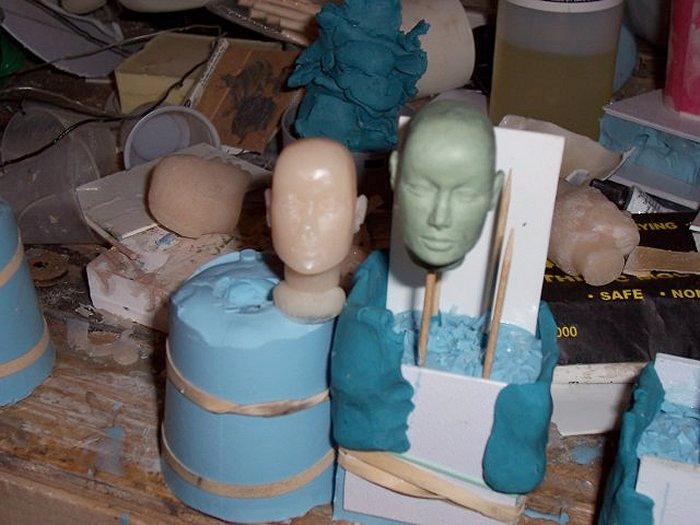
| Pretty much the same picture with the flash... Notice on the silicon molds, there are CHUNKY pieces... That is where I chopped up the pieces I cut out of the mold and added it after I poured the tops... just to show that silicon sticks to itself. I normally do not do this. |
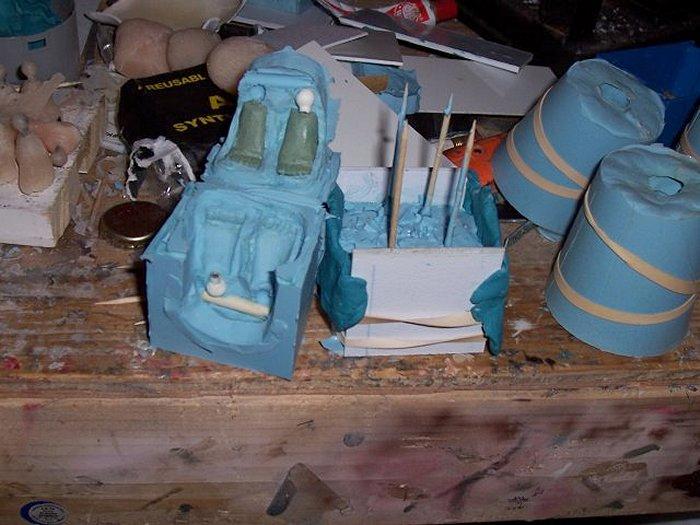
| AH!!!! We crack open the first foot mold!!!!! Looks good! The white connectors were not attached to the clay feet, they were just stuck in there... so that is okay they came apart like that. But over all it looks good. Just go slowly on opening your mold.. just in case some of the silicon stuck to the first half, you may have to tear it slowly or even cut it... but if you greased all the areas it should come a part fairly easily. |
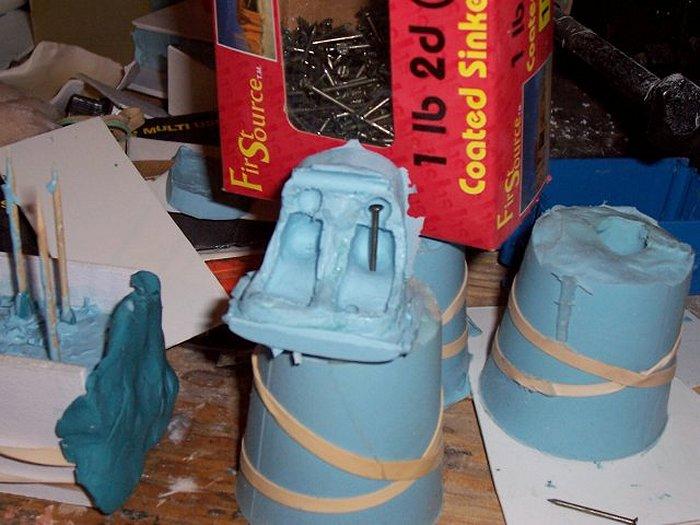
| OKAY... a little ILAF secret... the resin is not strong enough to allow you to insert and remove the CY-GIRL feet... you need some support. This is also why I added material to the second mold piece... Basically stick a couple of nail in the silicon so they will fit into the ball connector... Do this for both feet. |
CLICK HERE FOR NEXT PAGE

Back to the Tips